

Most people think of mortar as glue for brick. Nothing more. But look at the actual numbers—masonry is over 20% of your critical path. Get the mortar wrong, and your entire schedule gets scrambled.
This is the story of a real 120,000-square-meter residential project that learned that lesson the hard way. The final bill to fix the mortar problems? 2.8 times what it would have cost to get it right the first time.
The 120,000 m² Complex: A Case Study in What Goes Wrong
The project sits in one of East China’s second-tier growth cities. It’s a massive development: eight residential towers ranging from 18 to 24 stories, two commercial structures for retail and services, and an underground parking garage below.
Masonry runs through every phase. Basement retaining walls, above-grade partition work, infill walls on every elevation—you name it. And because masonry represents 20–25% of your critical path, the decisions you make about mortar aren’t theoretical exercises. They hit the schedule directly.
Here’s where this gets hard: people underestimate mortar. I talked to a structural engineer at one of the country’s top design firms. His response to my question about the mortar selection time? “Look, we’ll spend three hours arguing over concrete and rebar on a typical project. Mortar? Maybe 30 minutes. And then, without fail, it’s the mortar that breaks things.”
High-rise residential is where this gets complicated. The mortar in infill walls is different from load-bearing mortar—and they’re not interchangeable. You can’t treat them the same. On any given project, basement walls need one thing, upper floors need something else entirely. Basement retaining walls demand high compressive strength and water resistance. Upper-floor infill walls prioritize workability and water retention so the mortar stays plastic as the crew lays brick.
Using the same mortar everywhere means either overbuilding and wasting money, or underbuilding and creating risk.
Add another layer: most projects reference both ASTM C270 and the national standard GB/T 25181-2019. They don’t line up perfectly. ASTM talks in psi, the national standard in MPa. A Type S mortar in ASTM (1800 psi) corresponds to M10 in the Chinese system. But the test methods are different. The aging periods are different. The curing conditions aren’t identical. Swap them without understanding the gap, and you’ve ordered the wrong grade without realizing it.
Temperature swings matter too. Summer heat changes how fast mortar sets. Winter cold requires different admixtures and careful control of water temperature. Every experienced project manager knows: ignore the season and rework bills follow.
Type M to Type N: Which Mortar Actually Works for Your Scenario?
ASTM C270 breaks mortar into four categories. Here’s what you actually need to know:
| Mortar Type | Min. Compressive Strength (psi/MPa) | Where You Use It | Reality Check |
| Type M | 2500 / 17.2 | Basement, retaining walls, high-stress foundations | Strongest option, but hard to work with. Expensive. |
| Type S | 1800 / 12.4 | Load-bearing walls, seismic structures, retaining walls | Sweet spot for most residential—strength plus workability. |
| Type N | 750 / 5.2 | Non-load-bearing interior walls, infill, decorative masonry | Easy to work with. Strength is adequate for non-load-bearing duty. |
| Type O | 350 / 2.4 | Non-load-bearing interior, restoration only | Basically obsolete for new construction. Skip it. |
For most large residential projects, you’re choosing between Type S and Type N. Type S handles all load-bearing and seismic work. Type N covers infill and decorative applications. Type M sits there for specialty basement scenarios. Type O is essentially retired.
The national standard GB/T 25181-2019 uses an “M + number” system. The number represents 28-day compressive strength in MPa. The typical mapping for residential projects:
- M15 ≈ Type M — High-strength, basement retaining walls
- M10 ≈ Type S — Load-bearing masonry, seismic structures (≥10 MPa at 28 days)
- M7.5 ≈ Type N (stronger side) — General infill walls
- M5 ≈ Type N — Non-load-bearing interior, decorative work
Here’s where people mess up: the Chinese standard and ASTM don’t test the same way. ASTM uses cubic specimens; the national standard uses 70.7mm cubes. Aging periods are different. Curing conditions are different.
So you can’t just convert psi to MPa in your head and think you’ve matched things up. What looks like an equivalent grade often isn’t. You have to match it against your actual design requirements and—this matters—against what your local code reviewer will actually accept.
So here’s what actually works based on real projects:
For basement retaining walls, you need the heavy stuff—Type M or M15. These take compressive load, and they hold back water. No compromise here.
Load-bearing walls above grade, especially in seismic zones? Type S / M10. You get strength and workability in the same package.
Everything else—infill, partition walls, decorative masonry—Type N/M5 to M7.5 does the job. You’re not carrying structural load, so workability becomes your priority.
How to Choose: A Four-Part Framework
Instead of staring at a chart and second-guessing yourself, use a process. The following framework comes from multiple real projects and has cut mortar-related quality problems by over 70%.
Start by clarifying what the masonry actually needs to do. Is it load-bearing or non-load-bearing? Are you building in a seismic zone? This matters because load-bearing walls in seismic areas need Type S / M10 or better. Non-load-bearing gets Type N / M5. Skip this step, and you’ll regret it.
Next, match the mortar to what you’re actually building with. Work within ASTM C270 or the national standard, but here’s what really matters: Does the compressive strength hit your requirements? Does the water retention work with your bricks—especially if they’re high-absorption units? Can your crews keep pace with the schedule?
Then think about the environment. Temperature, humidity, and project schedule—these change how the mortar actually behaves. Summer heat doesn’t behave like winter cold. Rapid placement doesn’t work the same as careful, slow brickwork. Ignore this, and you’ve made all the right decisions on paper while creating problems in the field.
Finally, don’t just look at the unit price. Add up the material cost, transportation, and labor for mixing. Then factor in rework risk—fixing mortar mistakes costs 2.5–3 times the original placement. Add schedule delay costs. Add maintenance costs down the line. That’s your real number. We’ve seen projects where the cheapest mortar option became the most expensive once you counted everything.
Pre-Mixed vs. Field-Mixed: Which Approach Wins?
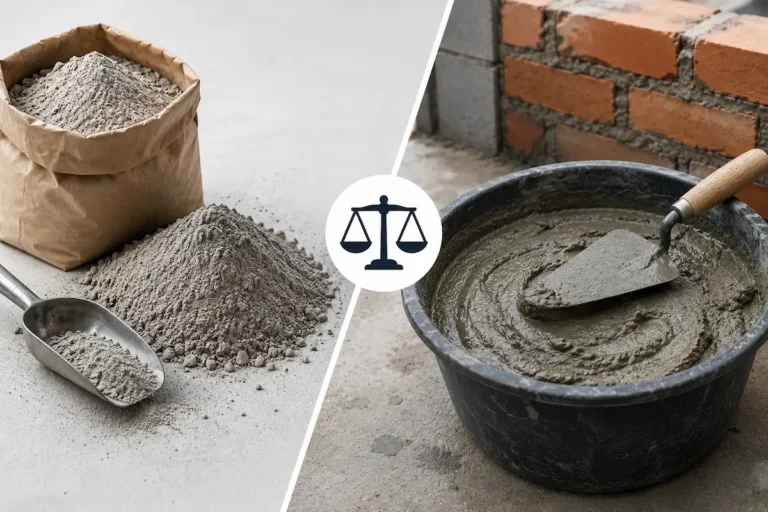
Large residential projects are moving toward pre-mixed mortar. The numbers bear this out: pre-mixed reduces on-site waste by 15–20% and improves crew efficiency by about 30%. But both approaches have their place.
| Consideration | Pre-Mixed Mortar | Field-Mixed Mortar |
| Quality consistency | Factory batching, high uniformity | Site measurement accuracy and worker technique matter |
| Environmental impact | Fully enclosed transport, low site pollution | Heavy dust, tough environmental control |
| Flexibility | Order in advance, slow to adjust | Real-time adjustment, adapts to field conditions |
| Cost profile | Higher unit price, lower waste overall | Lower unit price, higher waste and rework risk |
For large residential projects, the best approach is hybrid: pre-mixed mortar for main construction phases, field-mixing as backup for winter work or localized repairs.
Regardless of which method you choose, these process steps can’t be skipped:
Measurement must be tight. Cement, sand, water—the error should stay below 2%. Pre-mixed mortar has this dialed in at the factory. If you’re mixing on-site, you need scales that actually work.
Mix it long enough. Two minutes minimum with mechanical mixing. Less than that and you get inconsistency. The whole batch needs to be uniform.
Don’t over-water or under-water. More water makes mortar weaker and slower-setting. Less water, and it stops being workable—the crew can’t place it. Find the balance and stick to it.
Watch your working time. From the moment you finish mixing to when the last brick gets laid should be 2 hours in summer, maybe 3 hours in winter. After that, the mortar starts to set, and your crew’s pace starts to fail.
Mortar joints need consistent thickness. Horizontal joints should hit 10mm (±2mm tolerance), vertical joints the same. Joints that are too thick reduce masonry strength; too thin, and you can’t guarantee mortar coverage.
Follow the masonry pattern. Running bond (three stretchers, one header) or alternating bond—choose based on wall thickness and seismic requirements. Keep daily lift height under 1.5 meters. Let the mortar start setting before you load more weight on top. Walls fail when you stack too much height too fast.
Mortar joint fill density is everything. GB 50203-2011 sets the minimum at 80%, but honest projects shoot for 90%. Why? The data is clear: masonry at 80% fill density experiences 40% more cracking than masonry at 90%. That’s not a rounding error—that’s structural performance.
Winter work (when ambient temperature drops to 5°C or below):
Don’t let mixing water exceed 80°C—cement will flash-set and you’ll lose workability. Add air-entrainment agents to protect against freeze-thaw, but verify the impact on mortar strength first. Improper dosing can cut 28-day strength by 10–15%. Reduce the working time to 1.5 hours. Cover masonry after placement and keep it above 5°C for the first 24 hours.
Rainy-season work:
Protect mortar stockpiles from rain. Pre-soak masonry units, but not oversaturated—aim for 10–15% water absorption. After rain, clear standing water from mortar joints before continuing work. Water-to-cement ratio collapse is easy in rain, and it kills strength.
Summary
Mortar selection for large residential projects isn’t about checking a box. You need a structural analysis. You need to bridge the standards gap between ASTM and the national code. You need to account for how your crew actually works and what the weather will do. And yes, you need to calculate the true cost of mistakes.
Take all of that and embed it into your next project plan from the start.
Here’s the actual takeaway: mortar isn’t a minor call. It’s not something you decide in 30 minutes with whoever’s handy. From day one of project planning, make mortar selection a core decision. The schedule, the quality, the final cost—they all depend on it.