

AAC blocks are pretty much everywhere in construction now. Light, good insulation, quick to lay. But a surprising number of walls built with them start giving trouble a year or two later, and the block itself usually isn’t to blame. The mortar is.
The problem with ordinary mortar on AAC blocks
Standard cement sand mortar wasn’t designed with AAC in mind. It’s a porous, thirsty material, and regular mortar struggles to keep up with it.
AAC pulls water out of the mortar fast. It shrinks noticeably as it dries. Ordinary mortar doesn’t flex enough to handle that movement, so hairline cracks start creeping across joints and plastered surfaces within months.
A plain plaster coat has no waterproofing in it at all, either. Once cracks open up, rain gets in. Mold, staining, plaster peeling off the wall — the usual sequence.
There’s also just the process itself to deal with. Laying blocks needs one mortar. Plastering needs another. Waterproofing usually means a third product brushed on after everything else has dried. Three materials, three crews crossing paths on site, a longer schedule.
What a 4-in-1 mortar actually does
A 4-in-1 ready-mixed mortar is built around AAC’s specific quirks. It folds masonry, plastering, waterproofing, and crack resistance into one factory-blended bag.
For laying blocks, it goes on thin — a 2 to 5 mm bed. Bond strength is solid, water retention is good, and the thin bed alone helps cut down on thermal bridging.
The same mortar goes straight onto the surface as plaster afterward. No swapping products between structure and finish. No second mixing station for a different material.
Waterproofing isn’t brushed on at the end. The additives are already in the dry powder, so the barrier forms as part of the mortar layer itself, not a coating sitting on top of it.
Crack resistance comes from polymer modifiers and fibers built into the formula. They add flexibility, they cut shrinkage stress, and together that’s what actually stops the cracking — not a patch job after the fact.
Is ready-mixed actually cheaper?
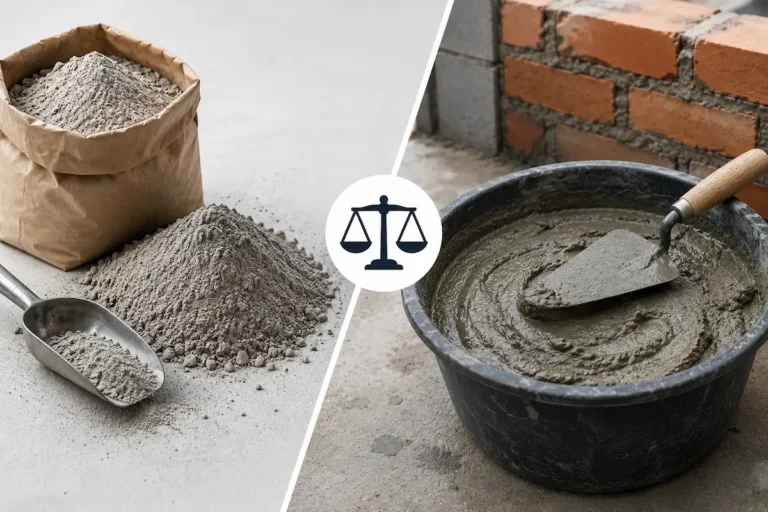
Compare a bag of 4-in-1 mortar to a pile of raw sand and cement, and the bagged product looks pricier at first glance. That’s only the material line, though.
Labor drops, because one product replaces what used to be three separate steps. Quality holds steadier too, since factory batching doesn’t depend on how much water a worker feels like adding that morning. Probably the biggest saving is the one that shows up later: fewer cracks and leaks means fewer complaints, fewer repair jobs, less money spent redoing work.
Application steps and reference parameters
Surface prep. Sweep off dust and loose debris. In hot, dry weather, dampen the wall lightly to control absorption. Damp is fine. Standing water isn’t.
Mixing. Add clean water at 18–22% of the mortar’s weight (check the bag for the exact ratio). Mix with a power mixer until smooth, let it rest 3–5 minutes, then mix again before use.
Laying blocks. Spread with a notched trowel. Keep the joint at 2–5 mm. Make sure the bed is fully filled, no gaps.
Plastering. One coat, typically 5–10 mm thick. Avoid direct sun or strong wind while applying — moisture leaving too fast is a common cause of surface cracking.
Curing. Shield the wall from sun and wind for the first 24–48 hours so the mortar hydrates properly.
Batch and site conditions vary. Always check the TDS that ships with the product for exact figures.
Get a quote or request a sample
Got an AAC block project coming up? ChenSon’s 4-in-1 masonry plastering mortar cuts out a lot of the back-and-forth between trades, and most of the rework that comes with it.